How to set up Killswitch with Non-OCPP Chargers
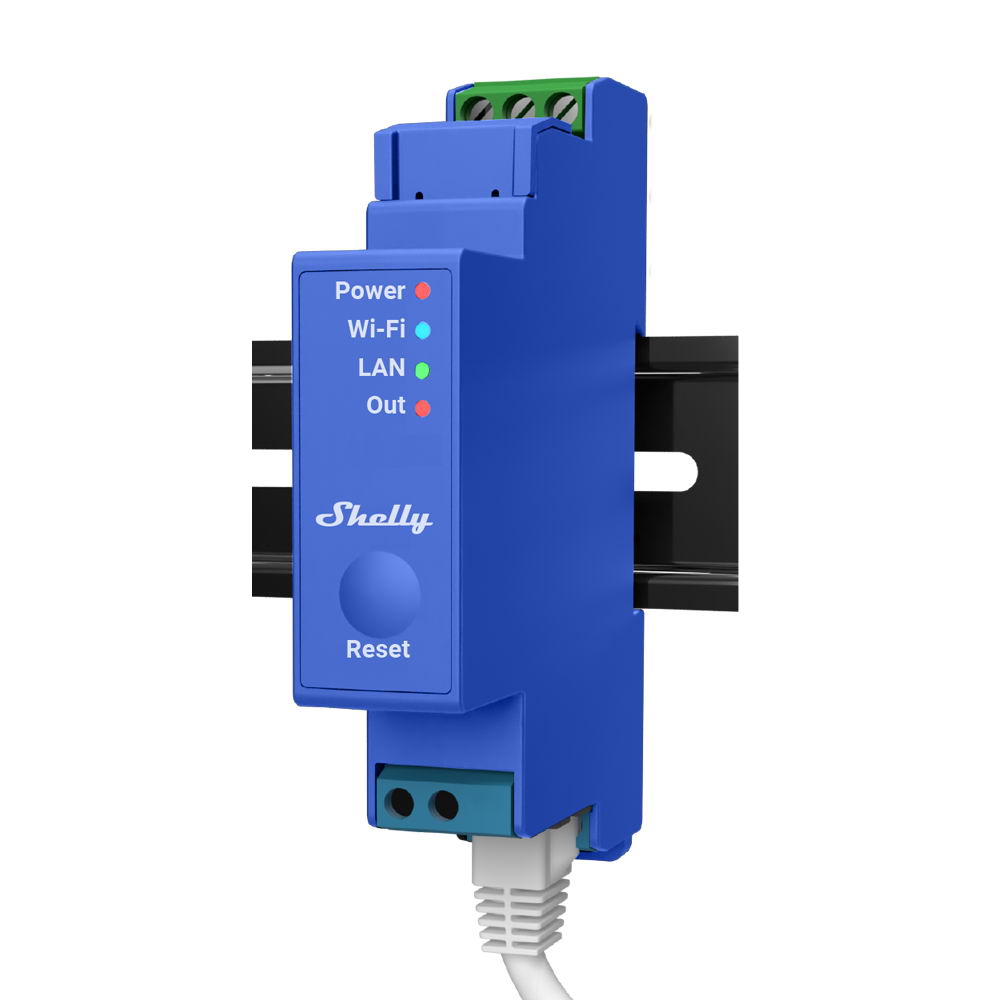
Learn how to use Killswitch with EV Chargers that do not support OCPP, using a Shelly® smart switch.


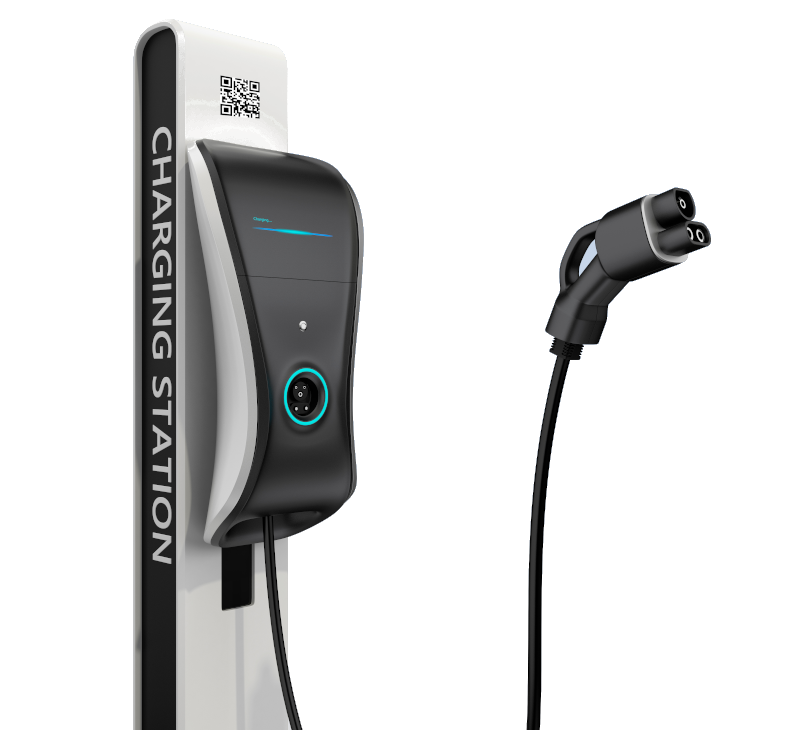
The Killswitch EV Charger Management solution can also be used with EV Chargers that do not support OCPP, enabling you to add a virtual checkout - or paywall - to any Charging Station and other electric appliances.
If you have questions or need help during the switch installation or device / paywall configuration, please reach out to our support team and we'll be happy to assist you.
Start by ordering your Shelly® smart switch set from the official Shelly® website or buy it from your local distributor.
Once it arrives, ask an electrician to install it in the EV Charger power line.
View moreAfter your smart switch is installed and connected to the Internet, add the device to your Killswitch account and configure your price and other usage settings.
View moreFinally, download the switch QR code from the configuration details page.
This QR code will then be used by your customers to scan and access the charger usage / checkout page.
View more
For Killswitch to control your EV Charger energy flow upon customer payment is processed, you need to install a smart switch and contactor in the Charger power line.
You can order your smart switch directly from the official Shelly® website or buy it from your local distributor.
Supported smart switch models: Shelly® Pro 1 and Pro 1PM.
Besides the smart switch, you will also require a power contactor. Please make sure you buy the contactor with the characteristics suited to your charger's power and phase type. If you are not sure about which contactor to buy, please consult with your electrician or contact our support desk for advice.
Once you receive the smart switch, you should ask a certified electrician to install it in the powerline that feeds the EV Charger according to the schema and instructions provided with the hardware.
The smart switch set should be installed in your electric switchboard, together with the remaining installation.
View installation guidesFor Killswitch to connect to the smart switch, you need to have your smart switch connected to the Internet. We recommend that you use a LAN (wired) connection. However, if that is not possible, you can also connect the smart switch to your WiFi (wireless) network.
To connect the switch to the Internet, please follow the instructions provided with the smart switch device.


After having your switch physically installed and connected to the Internet, you will be able to add your Shelly® switch to your Killswitch account using the "Add new device" button.
Follow the step-by-step wizard until you have the switch available in the "Your switches" area.
To be able to receive payments from Killswitch for the usage of your EV Charger, you will need to create your connected Financial Account.
You can create your connected Financial Account from the "Account settings" area, under the "Financial Account" section.
To configure your switch, use the "edit" button on the switch's card.
In the switch configuration you will be able to specify the usage unit (in minutes, hours or days), the min and max usage duration and the unit price.

Once you have installed and configured your smart switch, you will be able to download the QR code that contains the link to your switch online control page.
You should print the switch QR code with the size that best suits you and post it next to your EV Charger.
Normally the EV Chargers are placed outdoor and subject to extreme weather. In order to protect the QR code, you should print it using weather resistant materials.
Note: if you are not able to print the QR code in a weather resistant material, please contact our support desk and request your QR code printouts.
By scanning the QR code with their smartphone, users will be able to open the Killswitch checkout / device control page to choose the charge duration, make the payment (if required) and start using your Charger.